


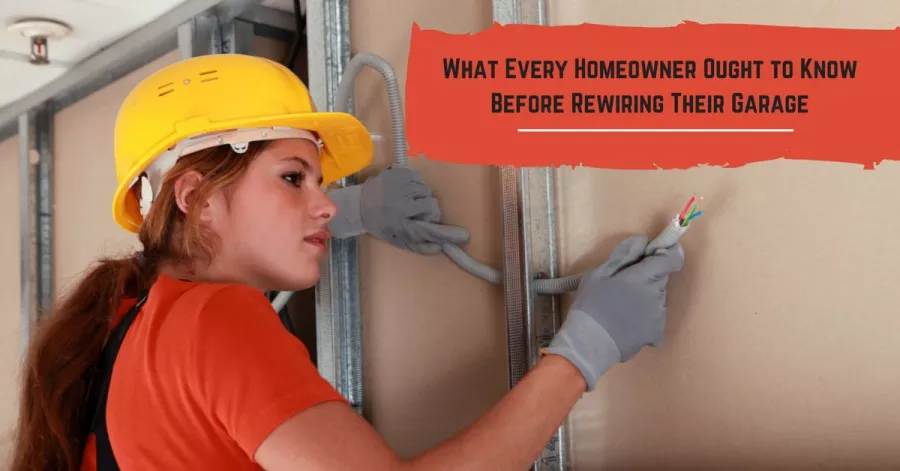
Rewiring your home’s garage is either a choice or a necessity. Either way, unless you’re a certified electrician, this isn’t a task you can simply dive into.
Perhaps you want more outlets in your garage, or want to add a clothes dryer or air compressor. Or, if your garage is old or has bad wiring, you may have to rewire it to protect your home and family.
Rewiring a garage takes time, but through careful planning and work, you can have a safe, electrically modern garage to enjoy for many years.
Ready to Get Started? Follow These Steps
Rewiring a garage involves eight big steps:
- Planning
- Acquiring permits
- Getting professional advice or assistance
- Gathering tools and equipment
- Installing electrical boxes
- Running wire cable; installing switches and GFCI outlets
- Installing a subpanel or adding circuit breakers to an existing panel
- Inspections
First Crucial Step: Make a Plan
Determine your electrical needs. If the garage walls have drywall, plan to:
- Use “old work” boxes to add outlets and switches
- Cut holes in the drywall for each box
- Run new wiring inside the walls
Another option for finished walls is a surface‑mounted metal conduit with exposed electrical boxes for outlets and switches.
For stud walls you expect to leave as is, plan to:
- Use “new work” boxes
- Attach “new work” boxes directly to studs with all wiring exposed
- Run wire cable vertically up the studs, along the top plates, and across the bottom chord of your roof trusses if crossing the garage
- Avoid draping or spanning open space with wire cable
Make a wiring diagram to guide the layout of all boxes and wiring runs. Consider providing a 240‑volt line as well as the regular 120‑volt outlets, so that you can power 240‑volt equipment.
The Energy Education Council says every outlet in a garage must be a Ground Fault Circuit Interrupter (GFCI), to prevent electrocution from accidental contact with water and electricity. Your panel modifications or subpanel additions should also include GFCI breakers.
Permits Ensure You're on the Right Track
Obtain all necessary permits and follow locally applicable electrical codes. Start with the National Electric Code (NEC), available for free online from the National Fire Protection Association. The permit process will also involve inspections of your wiring work and the breaker panel.
Don’t Hesitate to Seek Professional Help
Enlist the help, advice or actual installation work of a bonded, licensed electrician, especially when dealing with the circuit breaker panel or installing a subpanel. A pro can evaluate your panel’s load and capacity, and should do final connections.
Tools of the Trade
- Hammering, drilling and driving: hammer, 3⁄8 inch drill‑driver, spade bit, drill bits, Phillips and slotted screwdriver bits, screwdrivers
- Cutting and pinching: cable cutters, lineman’s pliers, needle‑nose pliers, wire cutters, wire strippers, razor knife or utility knife
Prep Required Equipment
With a proper wiring schematic, you can know exactly how many plastic or metal boxes to purchase, how many feet of wire to buy, and, if surface wiring, how much EMT conduit you need. Consult with your electrician about your panel requirements. You will also need:
- Cable connectors, straps and staples
- Electrical cable
- Junction boxes
- Light switches
- Wire nuts and electrical tape
- Switch cover plates
- Receptacle cover plates
Begin Wiring (Carefully)
When you’re confident that you’re ready to begin wiring, follow the steps in this order:
- Install connection boxes throughout your garage based on your plan. For garage door openers, remember to add ceiling‑mounted connection boxes.
- Run wire from individual boxes to junction boxes, then back to the circuit breaker panel or subpanel.
- Connect and install light switches and GFCI outlets.
Contact the Pro, Again
After you run wire and install outlets and switches, hire a professional electrician to make the final panel connections. This also makes inspection easier, since the professional knows what the local inspector will examine.
Get an Inspection
You are responsible for final inspections and compliance. Once your work has been approved, you are ready to enjoy your rewired garage.
Need to Upgrade Your Garage Door?
Maybe you’re thinking about re‑writing because you want to upgrade your garage door? At Environmental Door, we know that your garage is only as safe and attractive as your door, and we help homeowners find the right door for their needs.
Learn more about the quality residential doors we offer, or build your own dream door online at our easy‑to‑use Design Centre.
Add new comment